After the simple introduction of node.js in part 1, we are going to show you how to use realtime communication with server side pushing(!) data directly to all clients. So goodbye polling, hello full duplex websockets!
Server
Create a new node.js server project (or continue from part 1) and add the following code:
var value := 0;
var io := socketio().listen(server);
io.sockets.on('connection',                     //wait for connections
   procedure(socket: JSocketIO)
   begin
       socket.emit('dataPushed', ['test']);     //push some test data to client on connection
       socket.on('requestFromClient',          //wait for a special request from the client
       procedure(data: Variant; callback: JSocketIODataFunction)
       begin
         Console.log('Received from client: ' + data);
         value += data;
         if value > 100 then value := 0;
         callback(value);                             //send some data back
       end);
   end);
You also need to download and add ‘socket.io‘ to the uses clause.
The result should look like this:
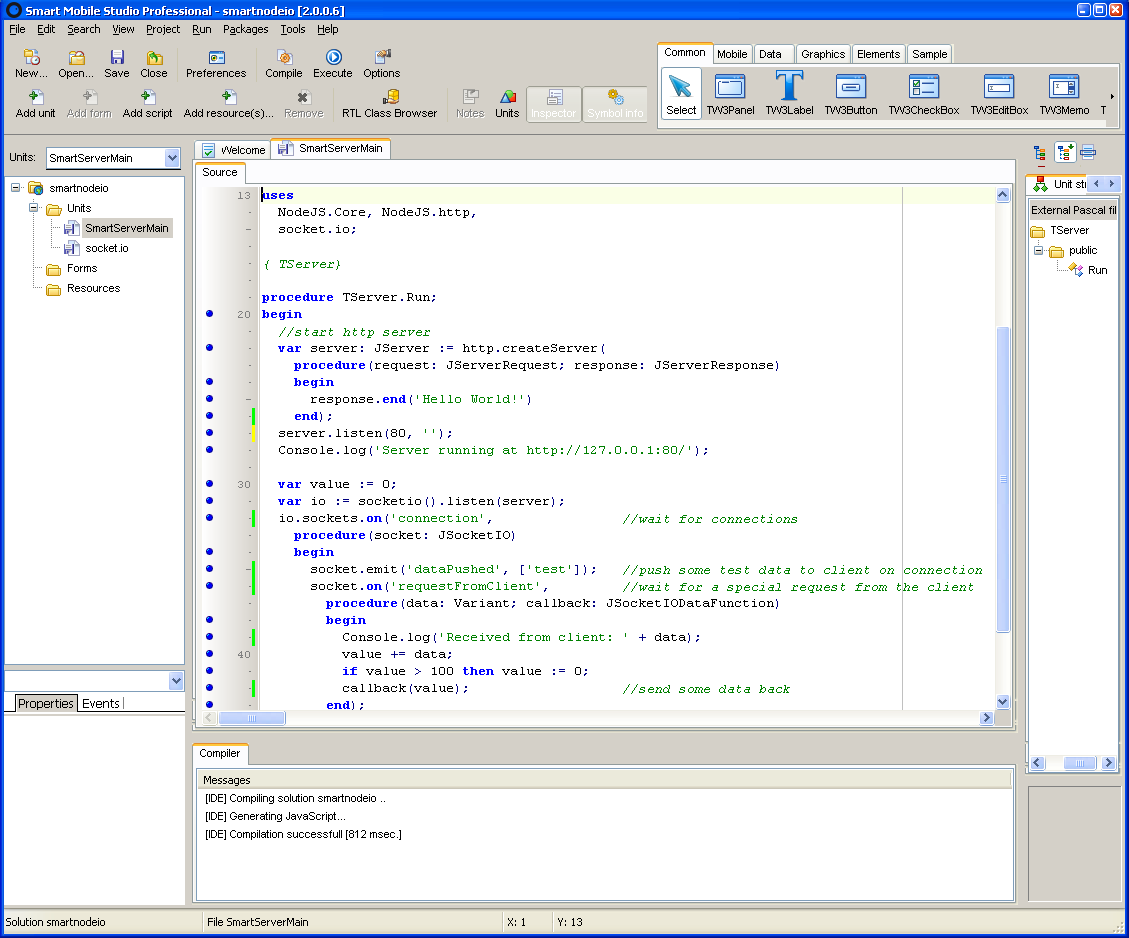
We added here the socket.io library to our existing http server, which works on top of websockets (part of HTML5). It is event based, and by using the “on” function you can register your callback to a built-in event (like “connection”) or use your own callback name (note: this order is important: first wait for a new connection and then add your own events).
The ’emit’ function sends a named event with some data to the client, and when we receive an event from the client we can respond with some data using the supplied callback (note: when the client hasn’t supplied a callback, the callback param will be nil!).
![]()
Before we can run this server, we need to install the socket.io library in node.js first: open a command promt and type:
npm install socket.io
Client
Start a new instance of the Smart Mobile Studio IDE and create a new “Visual components” project. Add 2 buttons and 2 progressbars to the form like this:

Be sure to set max or ‘Total’ value to 100.
Double click on the buttons to add an onClick event like this:
procedure TForm1.W3Button1Click(Sender: TObject);
begin
 FSocket.emit('requestFromClient', [10],
   procedure(aData: variant)
   begin
     pgProgress1.Value := aData;
   end);
end;

procedure TForm1.W3Button2Click(Sender: TObject);
begin
 FSocket.emit('requestFromClient', [5],
   procedure(aData: variant)
   begin
     pgProgress2.Value := aData;
   end);
end;
Download and add “socketioclient” to the interface uses clause (and copy the file socketio.js in the project folder) and add a “FSocket” field to TForm1:
uses
  W3System, ...
  SocketIOClient;

type
 TForm1 = class(TW3form)
   procedure W3Button2Click(Sender: TObject);
   procedure W3Button1Click(Sender: TObject);
 private
   FSocket: JSocketIO;
…
And create a new connection at startup:
procedure TForm1.InitializeObject;
begin
 inherited;
 {$I 'Form1:impl'}
 FSocket := socketio.connect('http://localhost:80');
Run
We are now ready to run both projects! First start the server and then the client.
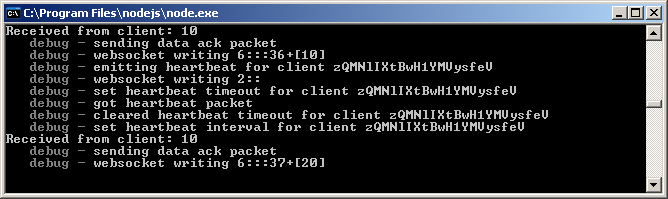
The server console will show something like this:

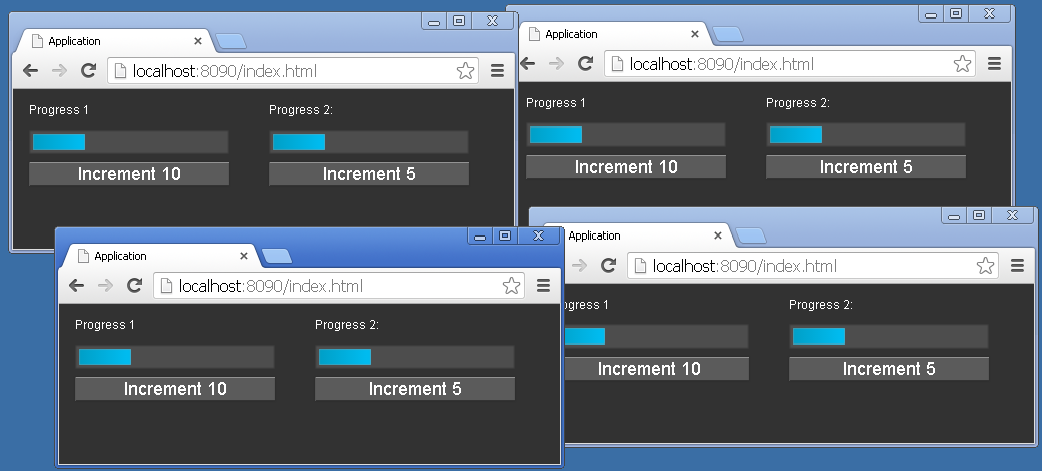
The client looks like this, after pressing the button (note: I used the Android-Holo theme in the “Linker” tab of the project “Options”):

And the server window shows all kind of debug information about this too:
The funny thing is: this is realtime! We could also register an event callback at the client side, and broadcast the new value to all clients (so you would see the new value in all clients in realtime).
You can try this on your own, by adding the following line in the server:
io.sockets.emit('dataFromServer', [value]); //send to all clientsAnd the following in the client:
 FSocket := socketio.connect('http://localhost:80');
 FSocket.on('dataFromServer',
   procedure(aData: variant)
   begin
     pgProgress1.Value := aData;
     pgProgress2.Value := aData;
   end);
Start the server and a couple of clients, press a button and watch all clients being updated in realtime!
Code
You can download and run the demo from here: