This tutorial shows how to use DataSnap connector in the Smart Mobile Studio Enterprise.
Server
Firstly, create a DataSnap server. In this example we are using Delphi XE7 but any older version will be OK as long as it can create a REST server.
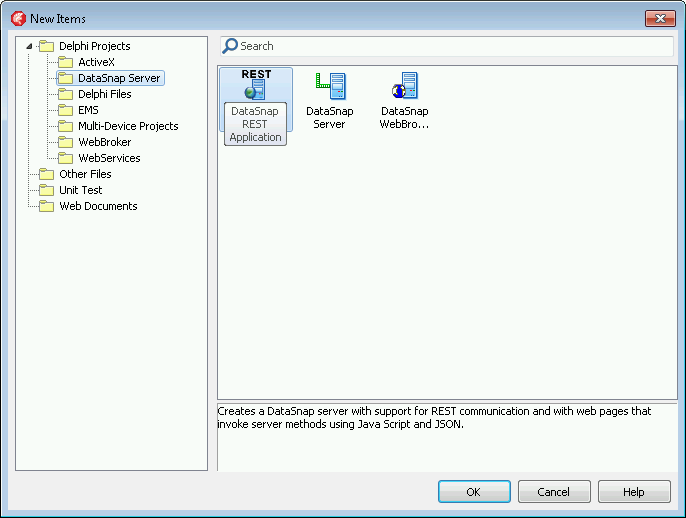
Start by creating new project. Select DataSnap REST Application from the DataSnap Server branch. It is important to create REST server as Smart doesn’t work with binary data format used in MIDAS-based DataSnap server.
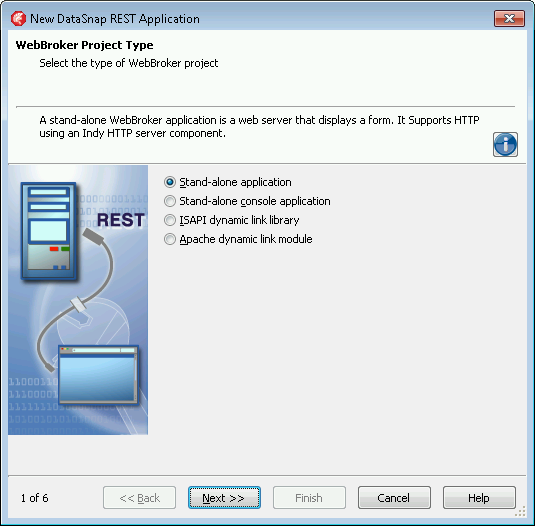
Any application type will do, but for simplicity we are using Stand-alone application in this demo.
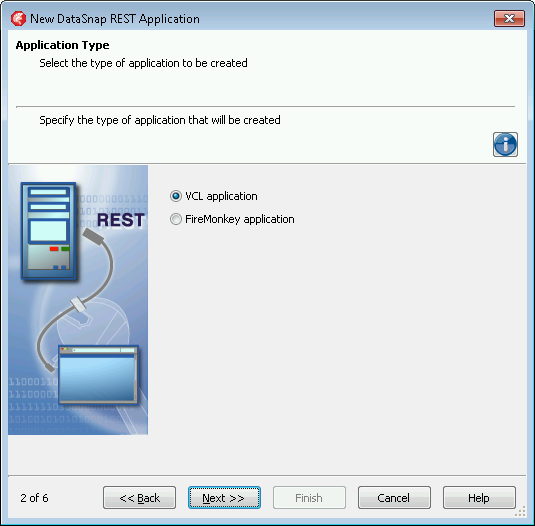
VCL and FireMonkey applications both work fine as DataSnap server is not dependent on the GUI framework.
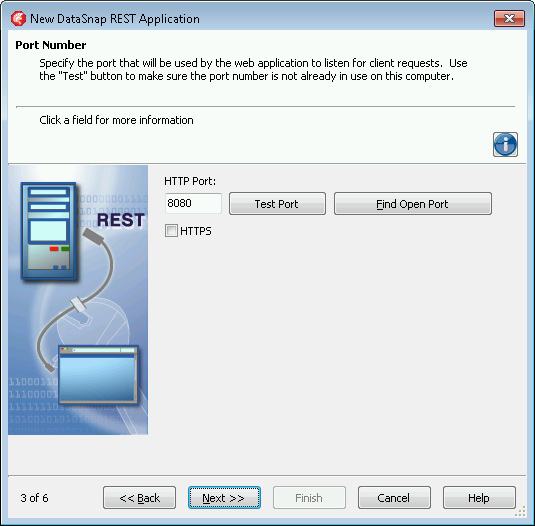
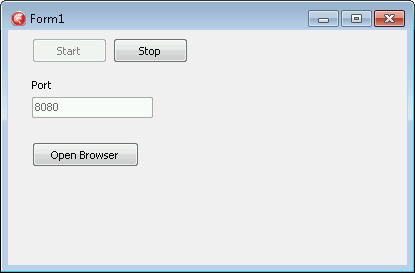
Enter a number of an unused port.
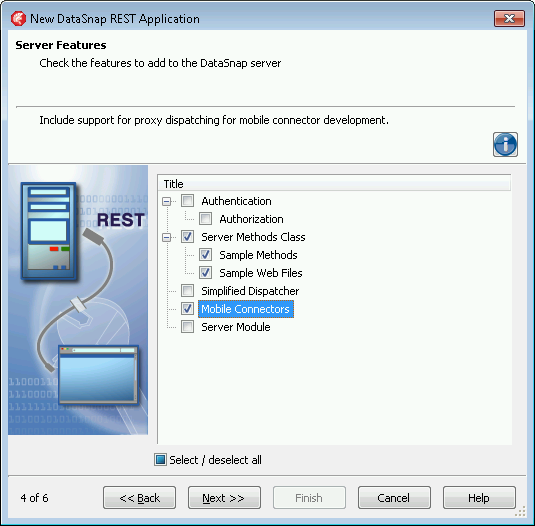
Select Mobile Connectors support. This is important as without this feature Smart cannot build its own connector! Keep Sample Methods checked as we’ll be using one of them in the demo.
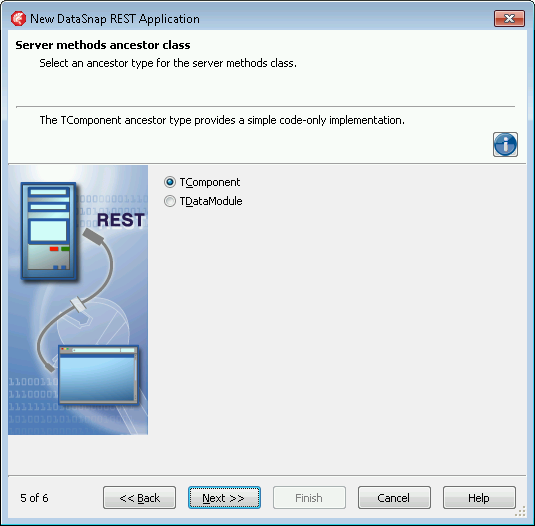
Any server method ancestor will do. In this demo we are using a simple TComponent.
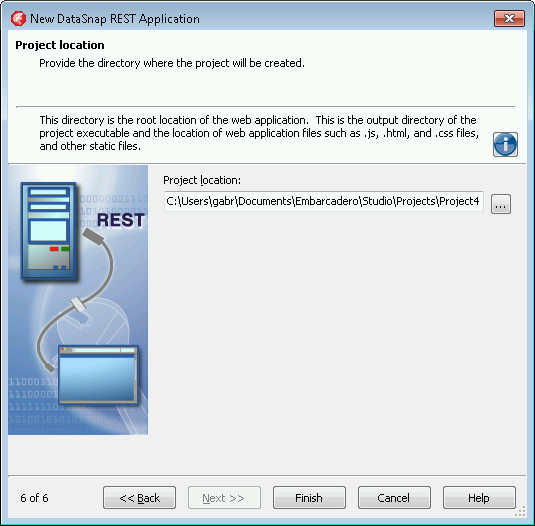
At the end, provide a path to the project files.
Save everything, compile, run, and click Start.
Client
Now is the time to create a Smart Mobile Studio client. It could be running on the same computer as the DataSnap server or on a different machine. You just have to make sure that the computer running Smart also has a Delphi Enterprise edition installed. Any Delphi version that supports writing DataSnap REST clients should be OK. RAD Studio XE5 was used when preparing this example.
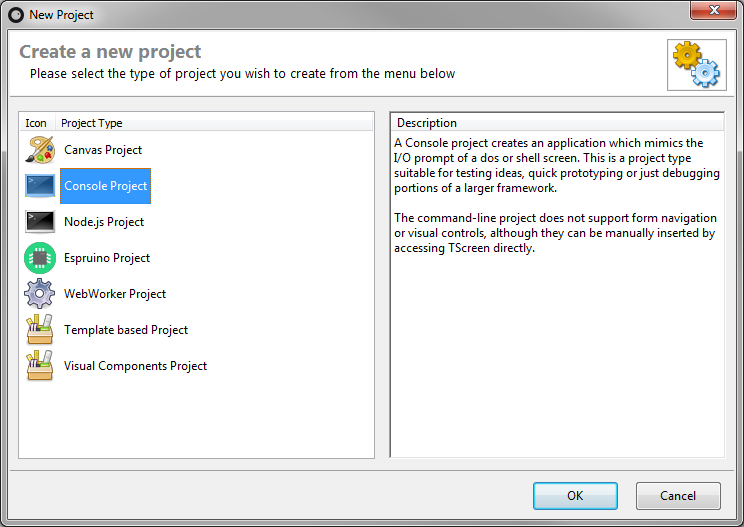
Start a new project. Visual Components Project will typically be used but for this example we have used a simpler Console Project.
Save the project. DataSnap connector importer requires that the project is saved.
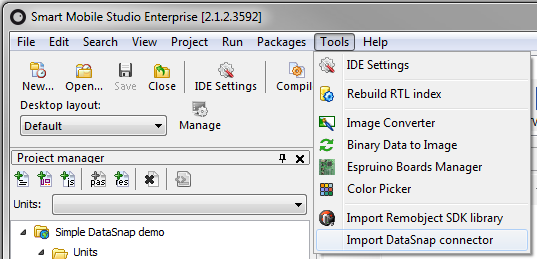
Select Tools, Import DataSnap connector from the menu.
DataSnap connector wizard will appear. Enter the URL of the DataSnap service in the first field and a name of the unit to be generated in the second field. Then click Import.

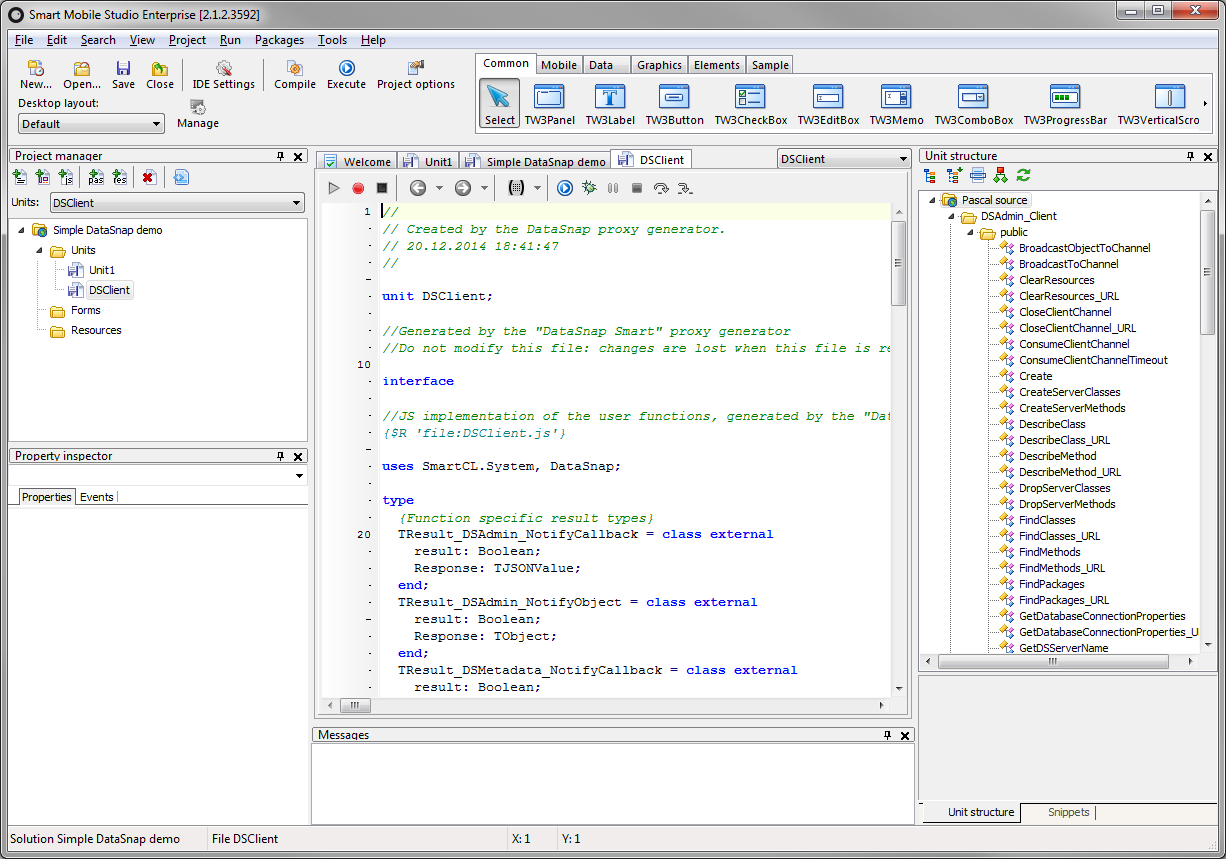
Importer will create new unit (DSClient.pas in our example), add it to the project and open it in the editor.
Now open the main project unit (Unit1) and add units DSClient and DataSnap to the implementation section.
uses
  DSClient,
  DataSnap;
Add the following code to the PopulateConsole method.
var ds := TServerMethods1_Client.Create(
  TDataSnap.CreateConnection('hermione', 8080, ''));

Console.Writeln(ds.ReverseString('Calling DataSnap from Smart!').result);
The first statement creates a DataSnap client instance. It can be used to execute multiple calls to the same server. You will have to replace computer address and port (first two parameters) with appropriate values (for example, you’ll have to replace ‘hermione’ – the name of the test machine running DataSnap server application – with ‘localhost’ if you’ll be running the server on the same computer as the client). The third part is the URL path appended to the host:port to create the DataSnap server address.
The second statement calls the ReverseString method on the server and writes out the result.
We can also programmatically generate the URL used for the REST call (without calling it) by calling the ReverseString_URL method.
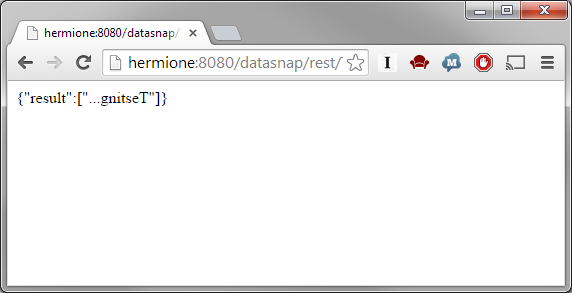
Writeln(ds.ReverseString_URL('Testing...'));The picture below shows the built-in browser after both calls are executed. Reversed string is written in the console application window (upper part) while the URL is written in the browser’s console window (lower part). (Why? Because Console.Writeln writes to the application window and Writeln writes to browser’s console.)
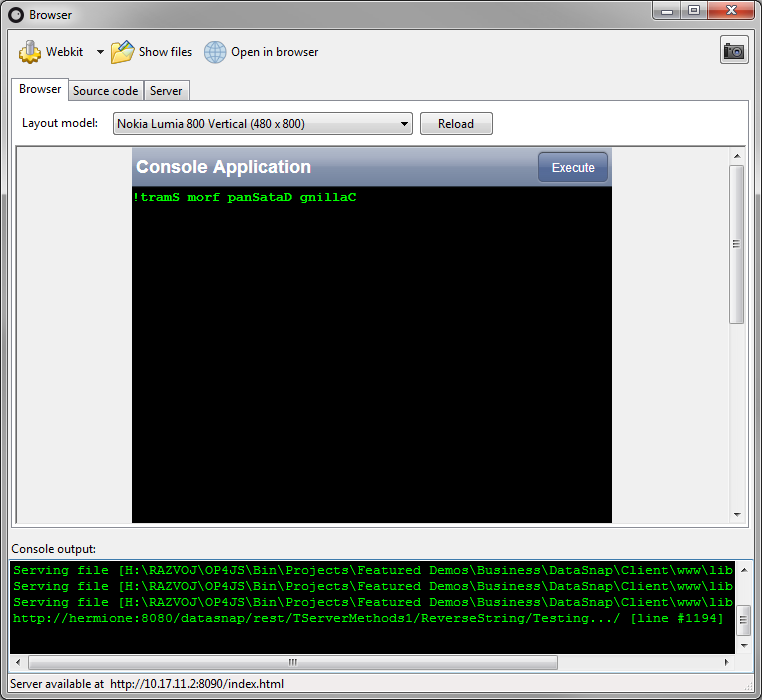
We can copy the URL from the browser’s console and paste it in a browser for testing.
Test project
You can download sample project (both Delphi and Smart parts) from: DataSnap client/server demo
Recompile the Delphi part with Delphi Enterprise. Recompile the Smart part with Smart Mobile Studio Enterprise.
Sample client application expects DataSnap server to be running at localhost:8080. If that is not the case, you’ll have to correct parameters to TDataSnap.CreateConnection call in Unit1.