In the previous article we introduced some general graphical concepts, things like double buffering, per scene rendering, sprites and alpha blending. Time to get our hands dirty and jump into it – how can a Delphi developer leverage his skills under HTML5? Well let’s find out!
Getting started
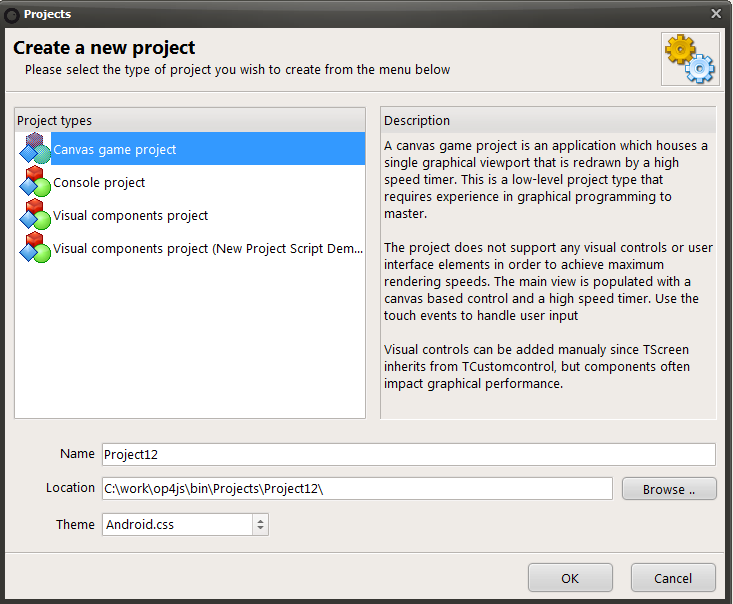
Fire up the Smart IDE, click “new project”. You will be presented by a small range of different project types: canvas, console and visual. Since we will be playing around with graphics – click canvas and let’s get cracking.
Now that a new project is ready we need to familiarize ourselves with the HTML5 canvas. This is not your father’s TCanvas so you will really benefit from studying the RTL classes and reading up on a javascript canvas tutorial. One of the great benefits of Smart Mobile Studio is that you can easily follow pretty much any javascript graphics tutorial since the canvas object maps directly.
First, let’s setup the project. We will create a canvas game project. This type of project contains an automatic update routine which forces a redraw of the screen within a short interval. It’s perfect for games and graphical demos and all you really have to do is populate the paint method.
Getting to know the canvas
Now that you have a brand new project up and running, it’s time to investigate what we have to work with. On top of your project unit (called project12 in this example) you will find “w3graphics” in the uses list. Right click this unit and select “open file at cursor”. This opens up the graphics unit so you can see the source. Now scroll down to TW3Canvas and have a look at the methods. It is also handy to have a look at the unit structure tab (right side of the IDE), you will recognize all the functions you have in Delphi and more. The most notable being:
- Rectangle
- Moveto
- Lineto
- Arc
- Lineto
These are functions you already know. If you are wondering why they are post-fixed with F – this is because they take floating point parameters rather than plain integers. Have a look at the methods and their parameters and get to know the API (this is a very handy time to have a look at the official javascript canvas documentation if you prefer pure docs rather than exploring).
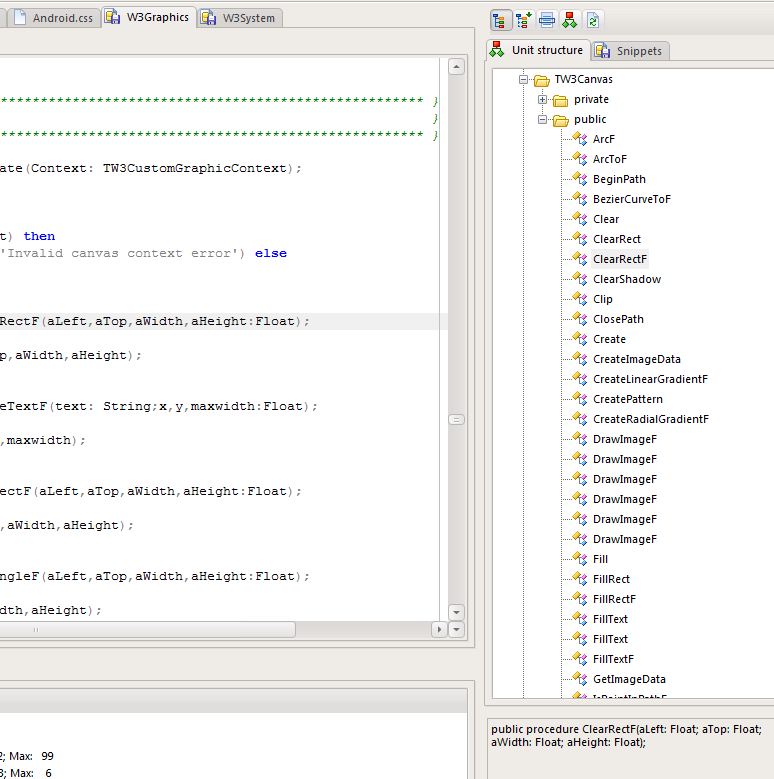
By examining the TW3Canvas class you get to know the methods
Right, flip back to the project source unit, let’s draw a simple line, so we populate the paint method with the following code:
procedure TApplication.PaintView(Canvas: TW3Canvas);
begin
  // 1. Clear background
  Canvas.FillStyle := 'rgb(0, 0, 99)';
  Canvas.FillRectF(0, 0, GameView.Width, GameView.Height);

  // 2. Draw our framerate on the screen
  Canvas.Font := '10pt verdana';
  Canvas.FillStyle := 'rgb(255, 255, 255)';
  Canvas.FillTextF('FPS:' + IntToStr(GameView.FrameRate), 10, 20, MAX_INT);

  // 3. Draw our line
  canvas.StrokeStyle:="#FFFFFF";
  canvas.beginpath;
  canvas.MoveToF(0,0);
  canvas.LineToF(100,100);
  canvas.stroke;
end;
The first two sections (marked 1 and 2) are automatically added when you create the project, so only the section marked 3 is the actual text we added here. Let’s go through the commands.
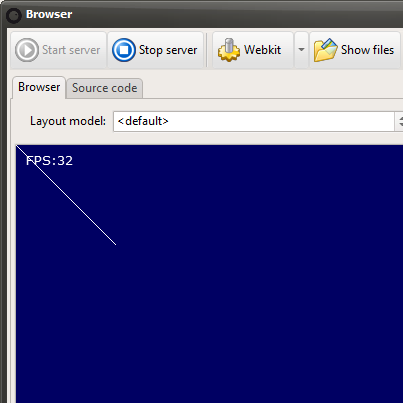
The result of our simple path operation
Strokestyle
Strokestyle determines the color and style of what you want to draw. In this case we have used a simple HTML color code for white. If we want to use opacity when we draw, we would use the other color format: rgba(255,255,255,0.5) for instance (note: use the ColorToWebStr function in w3system.pas to generate an RGBA string). You can also use a gradient or a pattern as strokestyle (more about that later). So yeah, it’s pretty cool.
Beginpath
Like we mentioned in our first article, all HTML5 drawing is path based. You want to draw all the graphics in one-go for optimal speed. So to setup a path you issue a call to beginpath. This simply tells the canvas that whatever drawing functions you issue ahead should be collected.
Moveto and Lineto
These functions are the same here as they are in delphi. You use moveto to fix the cursor at a point on the canvas. And you use lineto to draw from that point. You can use the full spectrum of functions in the canvas to generate complex and beautiful paths.
Stroke
Stroke closes the path and draws whatever shape you have defined using the different canvas methods. Stroke means that you draw and outline shape. The alternative would be a filled shape, a polygon, in which you would call the fill method rather than stroke.
A more advanced example
In the first installment of this article we showed a slightly more complex example, which used a bezier curve and a quadric curve. This is taken straight from javascript. Let’s alter our code to match that (postfix with F is the only real change you need here). Remember to keep section 1 and 2 (as marked above) the same:
  canvas.beginpath;

  canvas.MoveToF(0,0);
  canvas.LineToF(100,100);

// quadratic curve
canvas.quadraticCurveToF(230, 200, 250, 120);

// bezier curve
canvas.bezierCurveToF(290, -40, 300, 200, 400, 150);

// line 2
canvas.lineToF(500, 90);

canvas.lineWidth := 5;
canvas.strokeStyle := 'blue';
canvas.stroke();
The end result is exactly the same in Smart Mobile Studio as it is under “pure” javascript. Again the only real difference is the postfixing with F:
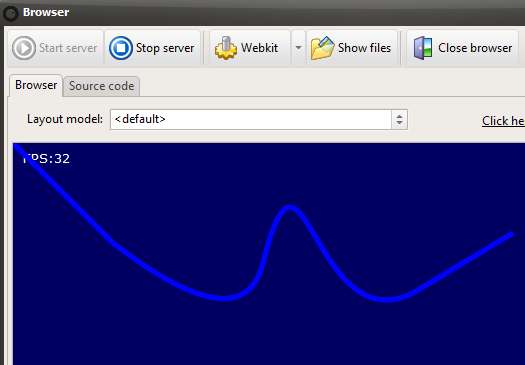
Straight port from javascript
Now that you have some general idea about how the modern HTML5 canvas works, that it’s really not that different from the old TCanvas (except magnitudes cooler) take a while to investigate. In the demo folder that ships with Smart Mobile Studio you will find plenty of examples that uses the classical drawing methods. And you will also find a lot of powerful demonstrations which uses more advanced features.
In the next installment we will cover two important aspects of graphics programming: offscreen bitmaps and double buffering. So get ready to move stuff around!
Click here to download the test project: Project12.opp